Required Materials
Raspberry Pi
- Zero W 2
- Raspberry Pi 3
- Raspberry Pi 4
SD Card
- Size: 32 GB or more.
- Application Speed: A1
- Speed Class: 10
Power Supply
- 2.5 Amp for PI Zero W 2
- 2.5 Amp for Raspberry Pi 3
- 3.0 Amp for Raspberry Pi 4
Computer
- Windows
- Mac
- Linux
Install Etcher
Download and install Balena Etcher.
* You may need to run it with administrator privileges.
Install Home Assistant
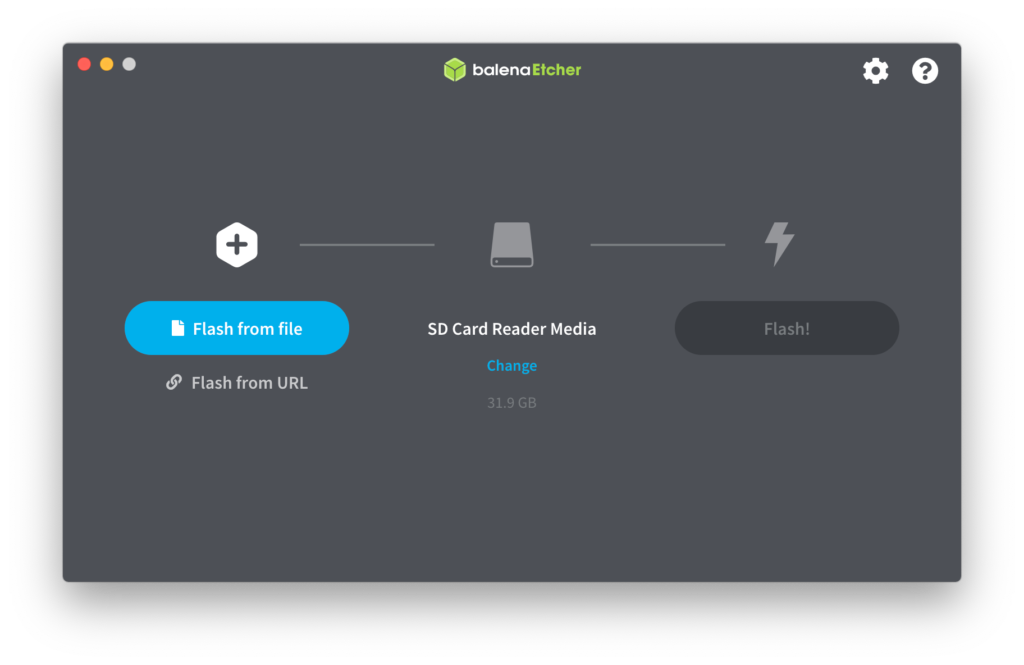
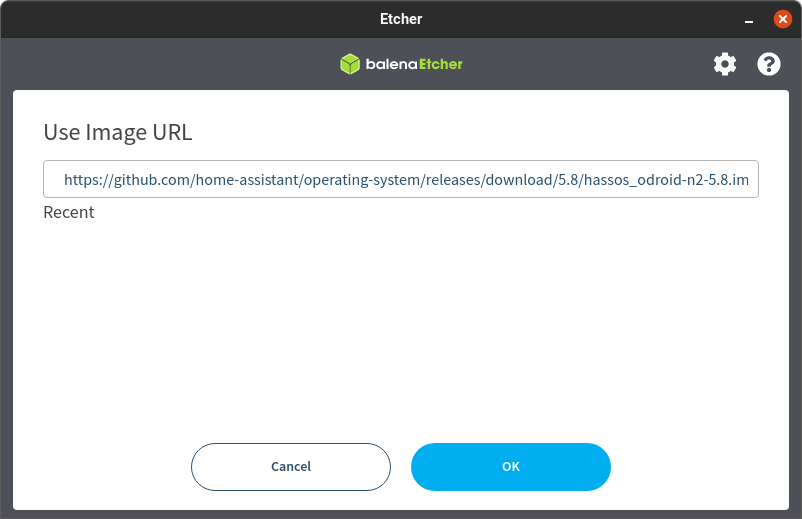
- Once Etcher is open select “Flash from URL”
- Go to the Home Assistant website and select the latest version of Home Assistant
- Plug in your SD Card
- Click on “Select target” and pick the SD card
- Hit the “Flash!” button to begin flashing the device.
Setup WiFi Connection
Beware! Wired Connection is highly recommended (Place your pi next to the router using an ethernet cable), as wireless connectivity may not work after Home Assistant updates.
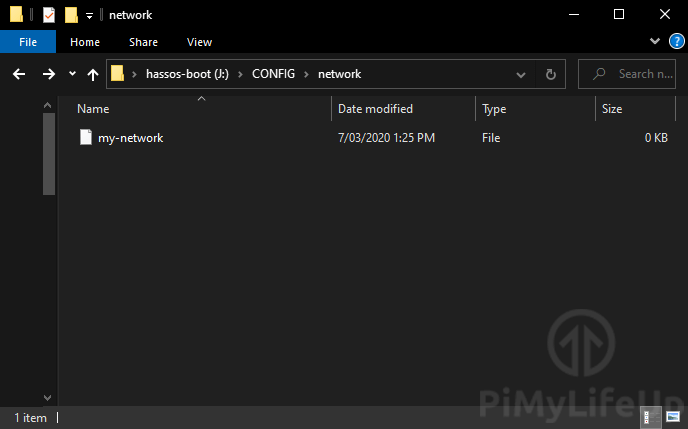
Head to the SD Card “hassos-boot” and create the following folder structure:
- CONFIG – Folder
- network – Folder
- my-network – Text File
- network – Folder
* For the Raspberry Pi Zero W 2 there are two considerations:
- You need to name the file “wifi-network” instead of “my-network”
- We recommend using the URL for Raspberry Pi 3 32 bit

Type your credentials
Open the file “wifi-network” with notepad, copy and paste the following into it, replace the <WIFISSID> and <WIFIPASSWORD> with your credentials.
[connection]
id=my-network
uuid=<UUID>
type=802-11-wireless

[802-11-wireless]
mode=infrastructure
ssid=<WIFISSID>
# Uncomment below if your SSID is not broadcasted
#hidden=true

[802-11-wireless-security]
auth-alg=open
key-mgmt=wpa-psk
psk=<WIFIPASSWORD>

[ipv4]
method=auto

[ipv6]
addr-gen-mode=stable-privacy
method=auto