The installation process
- Setup MQTT in Home Assistant
- Intelka Smart Switch Wall Installation
- Connect Home Assistant with the Smart Wall Switch
Setup MQTT in Home Assistant
Tools required to Setup MQTT in Home Assistant
We’ll need access to Home Assistant and a Laptop/Phone/Tablet.
What is a MQTT Broker?
The first part of the installation consist in setting up MQTT in Home Assistant. MQTT is a lightweight solution that allows to allow safe communication between devices. In MQTT we have two parts:
- A brain or broker: This coordinates communication between devices and keeps track of what is sent/received.
- Subscribers/Publishers: This devices send and receive messages to/from broker and perform actions ( In our case turn on/off light when you click your phone. )
We will setup now the MQTT Broker in order to communicate with the Intelka Smart Devices. This only needs to be done once. After you can just skip this part of the instructions.
Setup Mosquitto Broker
- Type in your web browser “homeassistant.local” or access through the Home Assistant App.
- Once you logged in go to Settings -> Add-ons -> Add-on Store.
- Search and click on Mosquitto Broker, then click “Install”
- Once it’s installed, toggle the options “Start on boot” and “Watchdog”, then click “Start” to run the Mosquitto Broker.
Setup MQTT User in Home Assistant
- Type in your web browser “homeassistant.local” or access through the Home Assistant App.
- Once you logged in go to Settings -> People -> Add Person.
- Type a username (i.e mqtt-user) and then toggle the option “Allow person to login”. (Remember to write down somewhere safe as we will need it later)
- This will open a new window where you will now need to type a password. (Remember to write down somewhere safe as we will need it later)
- Toggle the switch “Can only login from local network”. (Optional)
- Click “Create” in both screens to confirm the user creation.
- Go to Settings -> System -> Restart
- Wait until Home Assistant reboots so changes take effect.
Link Mosquitto Broker with Home Assistant User
- Type in your web browser “homeassistant.local” or access through the Home Assistant App.
- Once you logged in go to Settings -> Devices and Services -> Add New Integration.
- Search and click on MQTT.
- A dialog with the message “We discovered these, want to set them up?” will appear. Click the first instance/option in the list with the logo and text “MQTT”.
- A dialog with the message “MQTT Broker via Home Assistant add-on” will appear. Click “Submit”.
- A new dialog with the text “Success, Created configuration for Mosquitto broker” will appear. Click “Finish”.
- You will be now brought back to the menu Settings -> Devices and Services. Click on Mosquitto Broker – MQTT button “Configure”.
- A new page will show up MQTT settings. Click “Re-configure MQTT”.
- A pop-up dialog will show the Broker options, here you will have to replace the username and password with the ones we used to setup the User previously, then click “Next”. (Optionally you can change the Default MQTT Port. )
- The new dialog will show the MQTT Options, just scroll down and click “Submit”. (For most users the default options should work. Optionally you can update this settings to your specific setup.)
- A dialog will show the text “Success, Options successfully changed. Click “Finish”.
You have now completed the MQTT Setup in Home Assistant! Let’s move to the next section.
Intelka Smart Switch Wall Installation

Tools needed
- Access to Main Power Switch Box
- Wall Switch Device
- Wago Connectors or Wire Nuts
- Screwdriver
- Spare Electrical Wire (Optional)
WARNING
The installation requires handling mains voltage, mishandling of such a high voltage can lead to fatal injuries. If you feel unsure reach for your local electrician. Follow the instructions under your own risk.
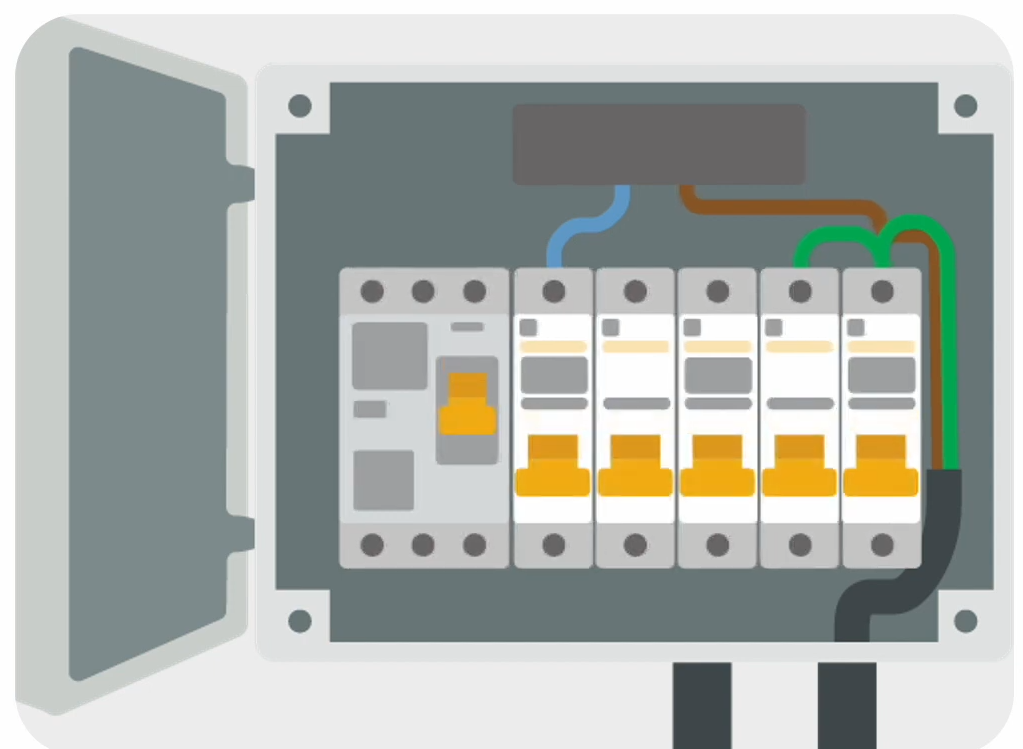
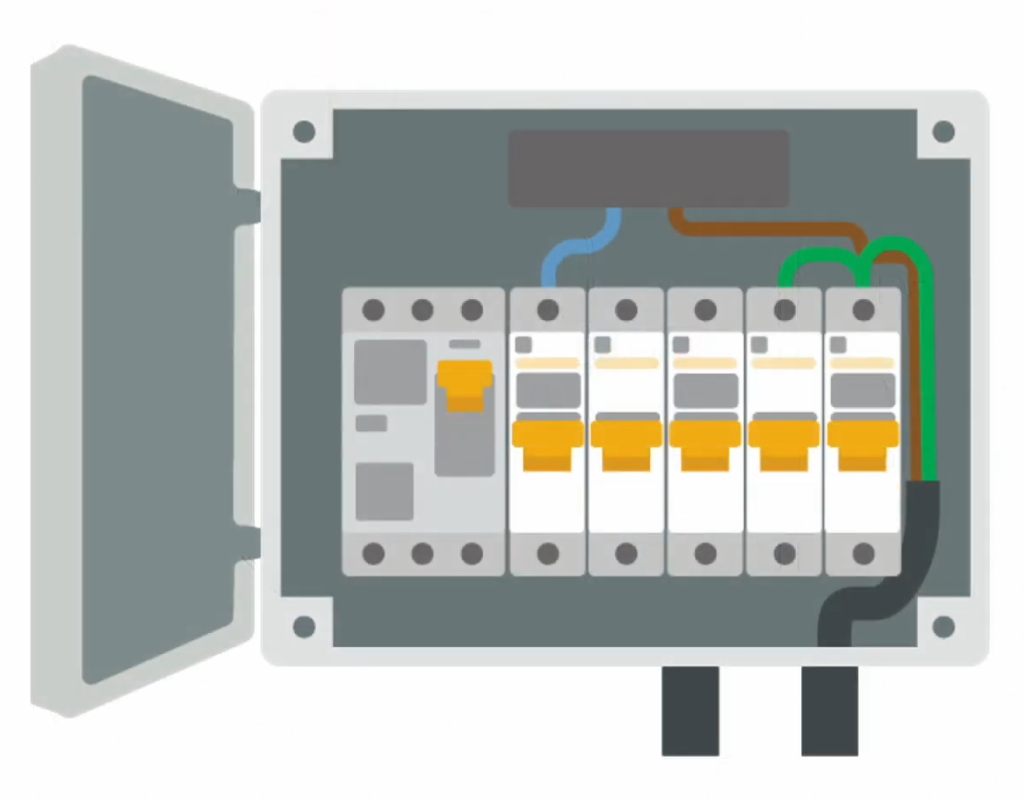
Turn off power before starting the installation
Verify by trying to flick the lights, no light should be able to turn on.
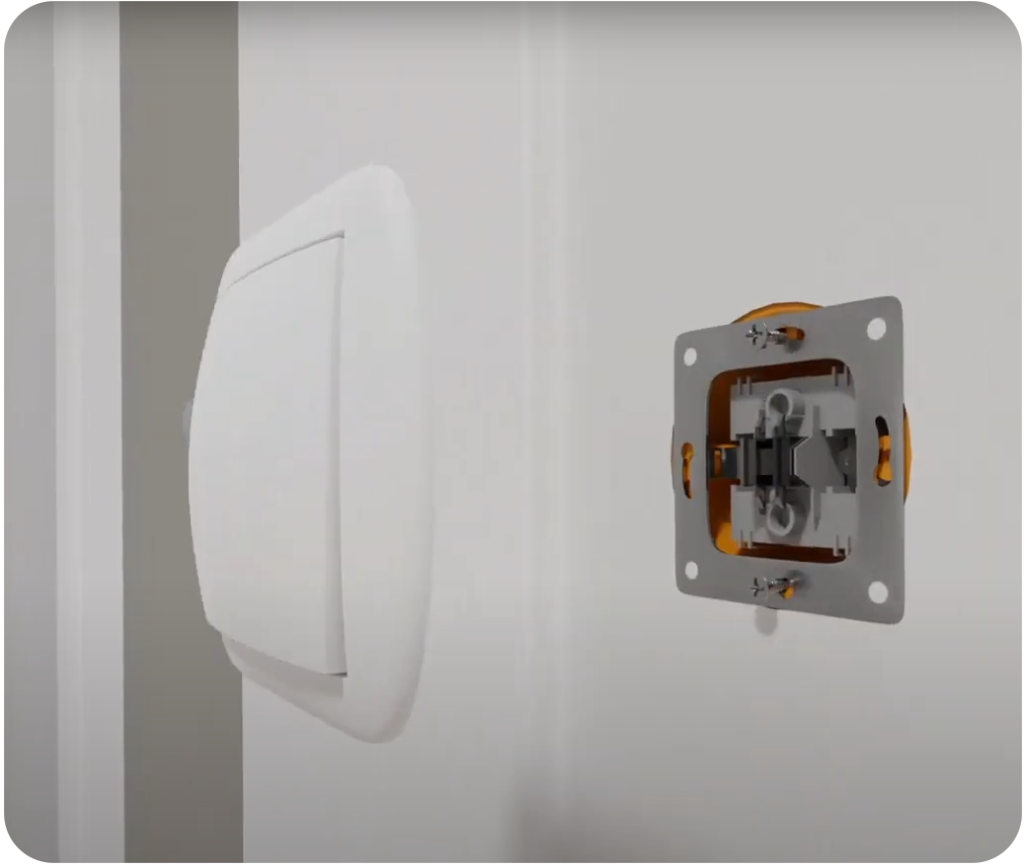
Remove the old wall switch
Remove the front cover, unscrew the switch from the installation box and carefully pull it out. You may need to additionally unscrew the wires from the terminals or press to release the wires. Make sure to keep track which cables where connected to the wall switch. We will need that information later.
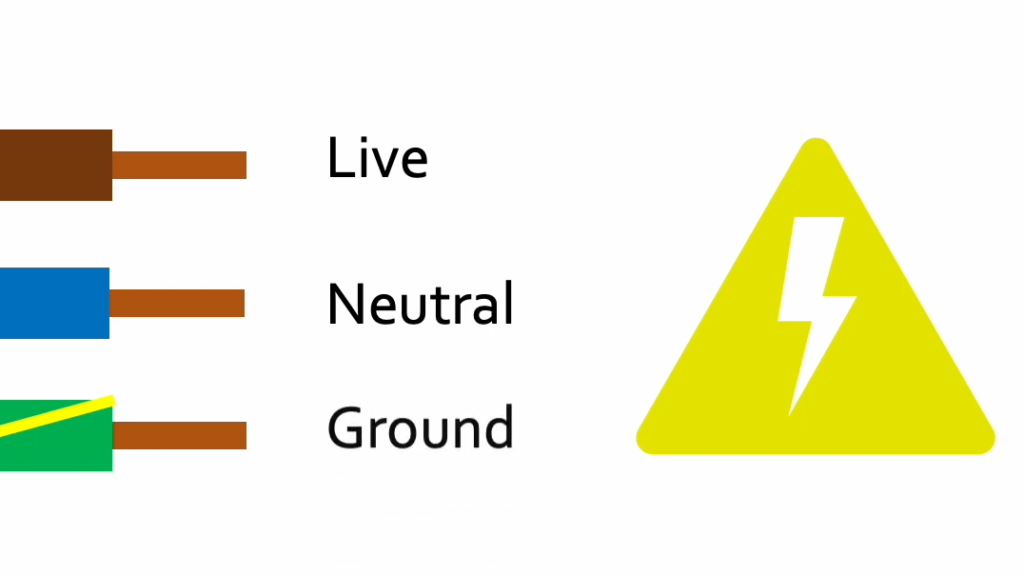
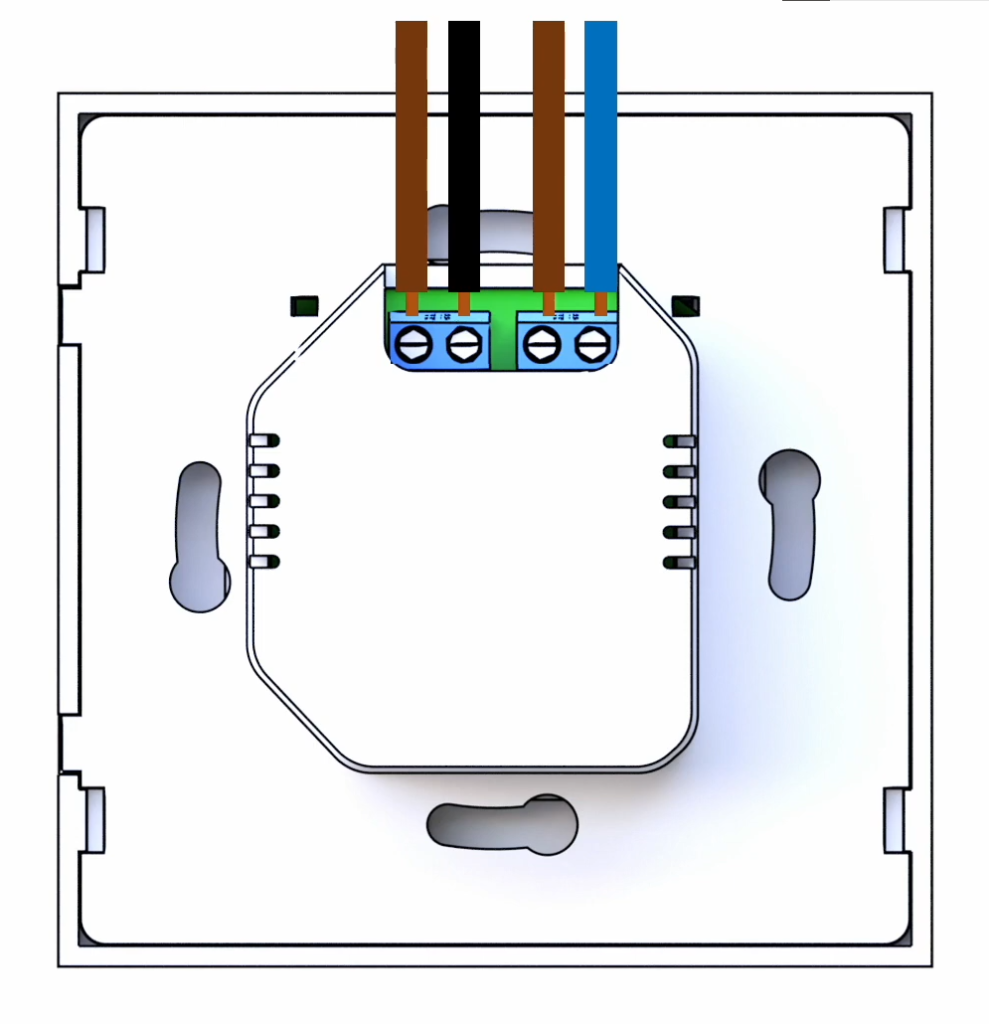
Wiring
Make sure to keep your hands away from the copper leads and do not allow the leads to touch each other. The color codes will be different depending on your region and specific installation. For Poland the color code is the following. Check yours on the following link.
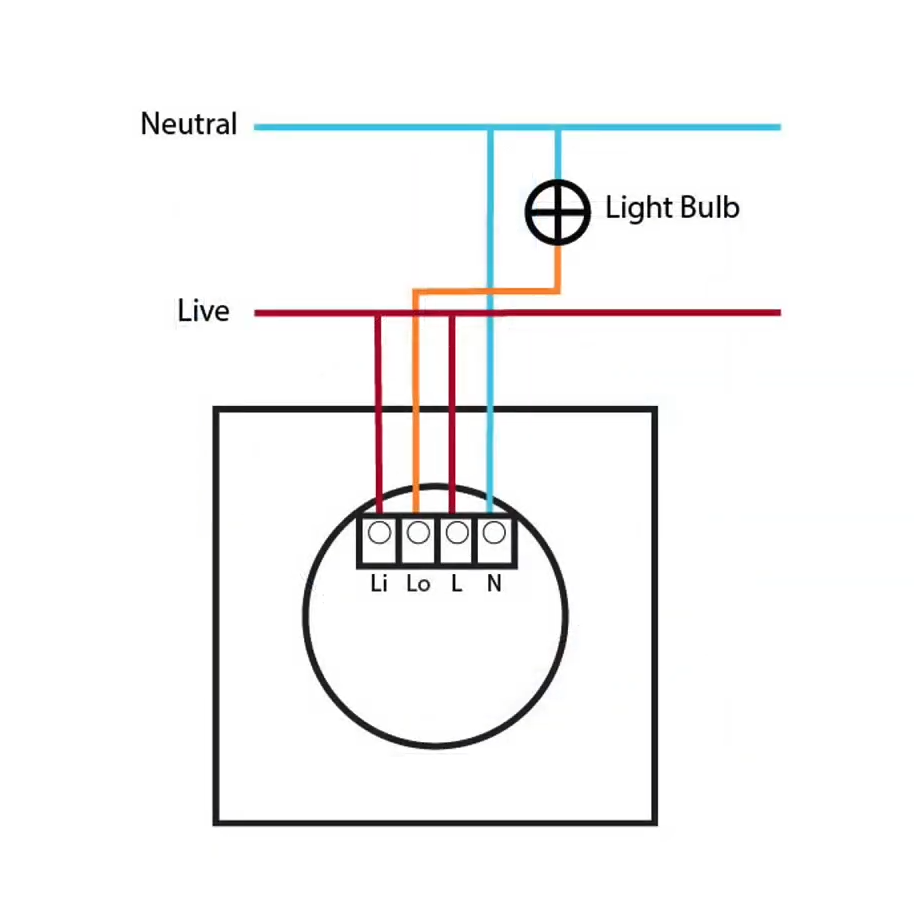
Diagram
Connect the wiring according to the following diagram.
Check the connections
Double check the connections. Make sure the cables are firmly attached.
Confirm the Smart Wall Switch works
Before mounting it permanently on the wall. With the smart wall switch connected, switch the main box switches on.
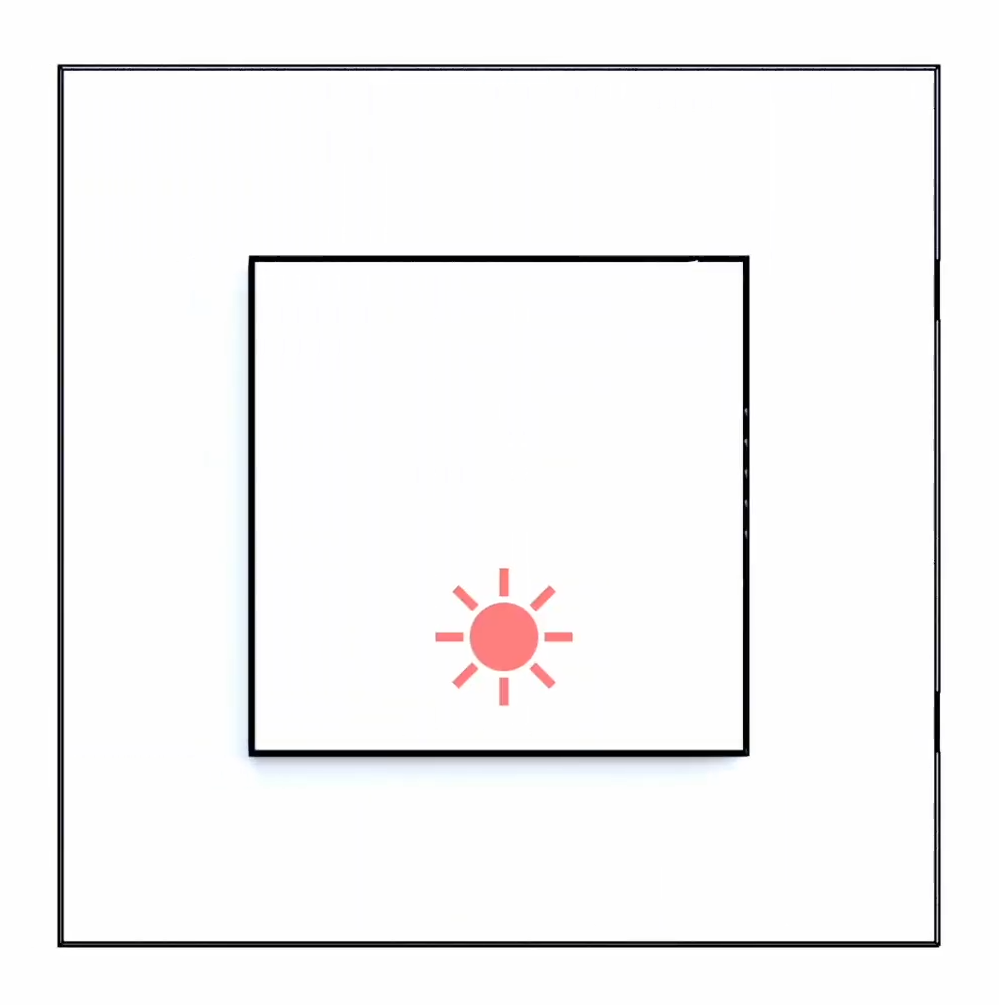
Confirm the Smart Wall Switch blinks
After a few seconds the Smart Wall Switch will start blinking. This way we can confirm it has power.
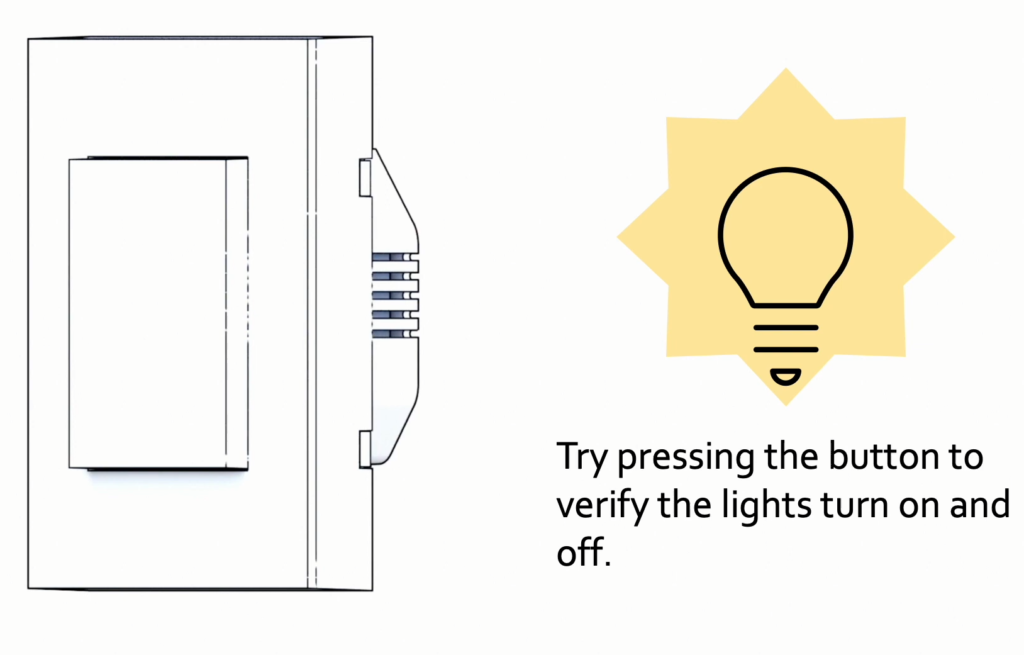
Confirm the lights turn on/off
With the Smart Wall Switch blinking, try pressing the button. The lights should turn on/off. This way we can confirm the lights are working correctly.

Turn off the power
After making sure the Smart Wall Switch works correctly turn off the main power box before securing the switch permanently to the wall
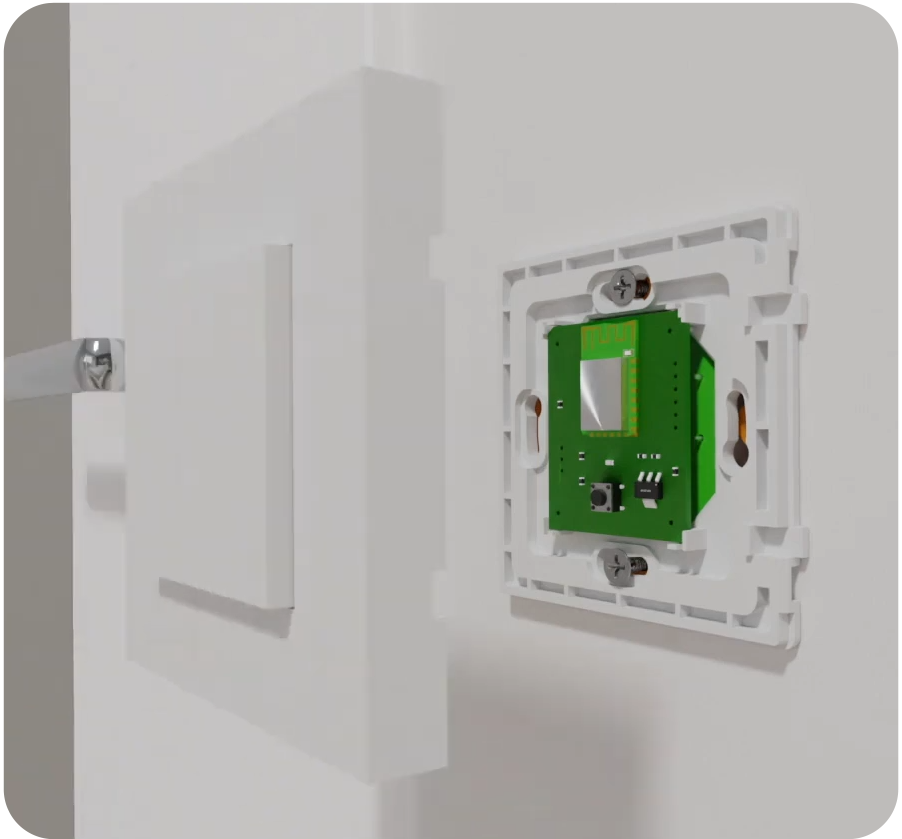
Mount the Smart Wall Switch
Use the screws from the installation box to mount the Smart Wall Switch to the wall. Then press the cover gently to finish the installation.
Turn the power back on
Yay! You successfully installed the Smart Wall Switch on the wall. Give your self a tap in the back and move on to the next section.
Connect Home Assistant with Smart Wall Switch
Tools required to Connect Home Assistant with Smart Wall Switch
We’ll need access to Home Assistant, a Laptop/Phone/Tablet, your WiFi Network Name and Password and your Home Assistant mqtt-user. (Click to go to this section)
Prepare Smart Wall Switch for AP Mode
After the Smart Wal Switch is securely mounted to the wall and the electrical energy is restored. After a few seconds automatically the switch will start blinking, indicating it’s ready to be configured and in status “Access Point Mode”.
At this point you can press the button and toggle the lights on/off and verify the installation is working. If this would not be the case, please re-check the connections.
Access Smart Wall Switch Configuration
In your device of preference look for WiFI Networks, you should now see a WiFI Network Name “IntelkaSW-XXXX” (This last 4 digits are unique to the device). Connect to it with the password provided in the back of the device.
After connecting you may be prompted with the question “Keep connected to this WiFI Network”, please press okay to keep connected.
Open a new web browser tab in your preferred browser and type the following “192.168.4.1” this should now prompt you with a user and password and click “Submit”. Connect to it with the user and password provided in the back of the device.
Great! You should now see the Configuration Page.
Setting up your credentials in the Smart Wall Switch Configuration
You are almost done! We only need to change three things. (Optionally you can also change other values depending on your setup.)
Don’t click “Submit” until you fill all the required fields!
- WiFI Credentials: Type in your Network Name and Password exactly as shown (Case sensitive).
- MQTT User: Type the user and password you setup in the first section. (Case sensitive).
- Admin Password: Type a new password for your device and make sure you store it safely. (Case sensitive).
- Leave the rest of values as default. (For most users this should work just fine!)
- Make sure you double check you wrote this credentials correctly and click “Submit” (Yes, you can click any submit button.)
Great! If everything went well, after a few seconds you should be able to push the Smart Wall Switch and the light should turn on/off and the blinking light should now be gone.
Verify the Smart Wall Switch shows in Home Assistant
Now let’s see if the switch shows up in the home assistant dashboard. Success! After logging in to Home Assistant either by your phone/tablet/computer you should be able now to toggle the smart switch from both Home Assistant and by toggling the switch.
Personalize your Smart Wall Switch in Home Assistant
If you check on your Home Assistant App you will see now the name “IntelkaSW-XXXX” appear, by clicking on the name and then on the gear icon you can now rename your light and assign it to an Area. (For example “Bedroom”)
Congratulations! You have now configured your Smart Wall Switch in Home Assistant!
Add your voice assistant in Home Assistant
You are running your own private Home Assistant Smart House, if you desire you can now also integrate now your setup with Google Home and/or Apple HomeKit and/or Amazon Alexa or other third party integrations. Check the links below depending on your setup.
The easy way is through a Nabu Casa Subscription or you can go all in and do the setup yourself.